
Installing a water heater is a task that requires careful attention to both water and electrical connections. Whether it’s a tankless water heater, a traditional tank model, or a heat pump system, ensuring the safety and reliability of these connections is paramount. Faulty installations can lead to water damage, electrical hazards, or inefficient operation, posing risks to property and personal safety.
This article explores the essential considerations for safe water and electrical connections during heater installations. From understanding the materials and tools needed to following best practices and safety codes, this guide aims to provide a comprehensive overview for homeowners, plumbers, and electricians alike.
Understanding the Basics of Water Heater Installations
Types of Water Heaters and Their Connection Needs
Water heaters come in various types, each with distinct installation requirements. Traditional storage tank heaters store and heat water continuously, requiring both cold water supply and hot water outlet connections. Tankless water heaters, on the other hand, heat water on demand and often require more precise electrical wiring due to their higher power demands. These units can be particularly advantageous for households with limited space, as they can be mounted on walls and do not require a large tank for storage.
Heat pump water heaters use electricity to move heat from the air or ground into the water, which means they have unique electrical and plumbing setups compared to conventional models. Understanding these differences is crucial to ensuring that connections are made correctly and safely. Additionally, heat pump models are known for their energy efficiency, making them a popular choice for environmentally conscious homeowners. However, they may require a specific installation environment, such as sufficient clearance for airflow and a location that maintains a consistent temperature. For professional guidance and reliable service, you can visit Plumber Singapore for expert installation and support.
Key Components in Water and Electrical Connections
The water connections typically involve supply lines, shutoff valves, pressure relief valves, and proper drainage. Using the right materials, such as copper, PEX, or CPVC pipes, depends on the local building codes and the water heater type. Ensuring leak-free connections requires appropriate fittings and sometimes soldering or crimping techniques. It’s also essential to consider the insulation of pipes, especially in colder climates, to prevent heat loss and maintain efficiency. Proper insulation can significantly reduce energy costs over time.
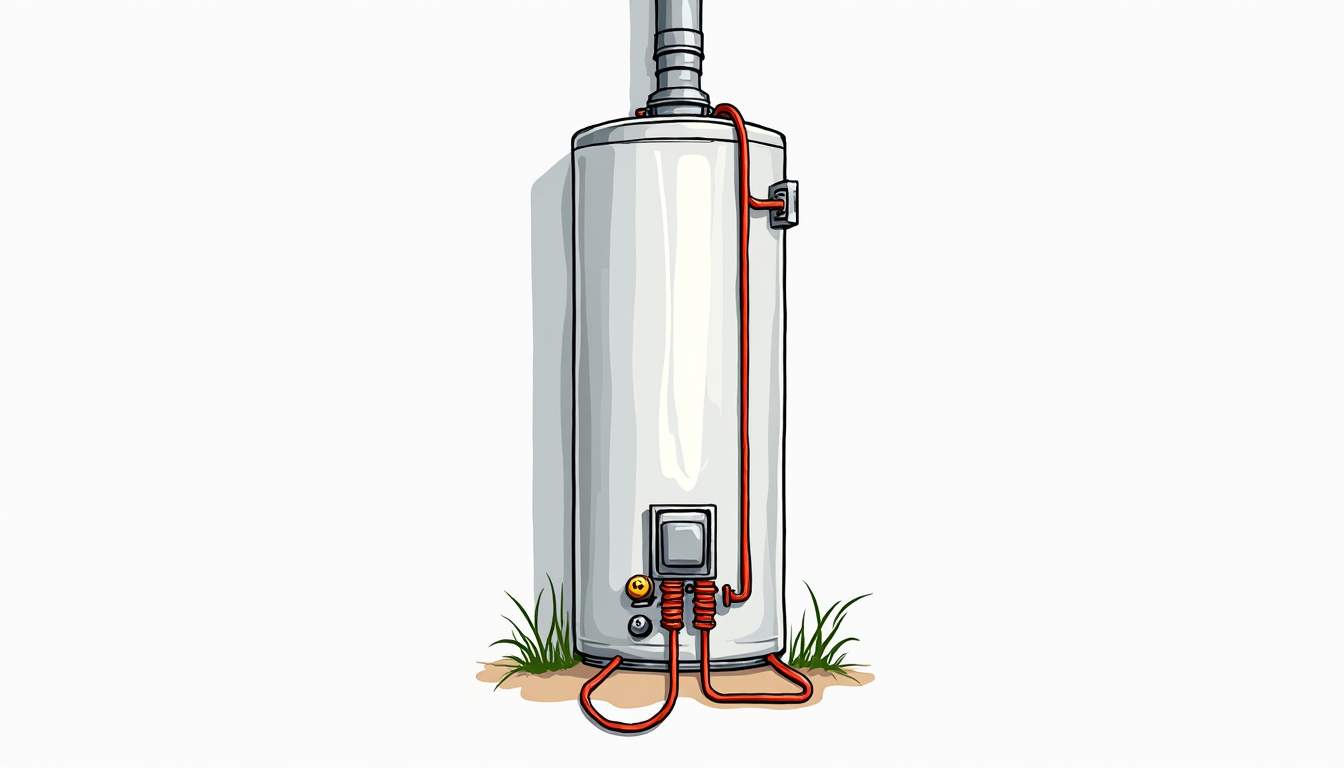
Electrical connections involve wiring the heater to the power source, grounding, and installing appropriate circuit breakers. For electric water heaters, the amperage and voltage requirements must be matched precisely to avoid overloading circuits. Ground fault circuit interrupters (GFCIs) are often recommended or required to protect against electrical shock hazards. Additionally, it’s important to ensure that the installation complies with the National Electrical Code (NEC) standards, which dictate safe practices and help prevent electrical fires. Regular maintenance checks on these connections can also enhance safety and prolong the lifespan of the water heater.
Best Practices for Safe Water Connections
Choosing the Right Materials
When it comes to water connections, material choice can significantly impact the safety and longevity of the installation. Copper piping is durable and resistant to corrosion but requires soldering skills. PEX piping offers flexibility and ease of installation, especially in retrofit scenarios, but must be rated for hot water use. It’s also worth noting that PEX is less likely to burst in freezing conditions compared to rigid pipes, making it an excellent choice in colder climates. However, care should be taken to protect PEX from UV exposure, as prolonged sunlight can degrade the material.
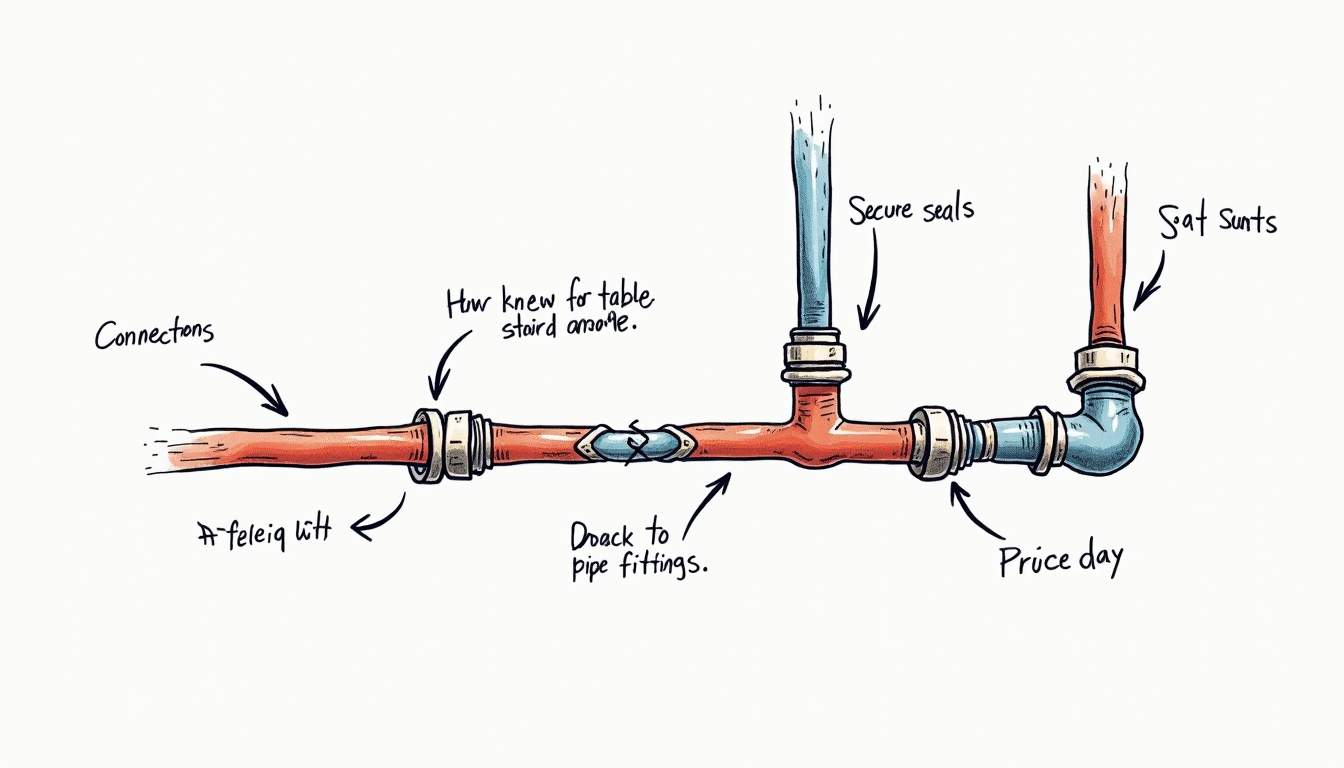
Using the correct fittings and valves is equally important. Ball valves are preferred for shutoff points due to their reliability and ease of operation. Pressure relief valves must be installed to prevent excessive pressure buildup, which can cause dangerous failures. Furthermore, consider using lead-free brass fittings to ensure compliance with health regulations and to prevent potential contamination of drinking water. The choice of materials not only affects functionality but also impacts the overall efficiency of the plumbing system, which can lead to long-term cost savings.
Ensuring Proper Sealing and Leak Prevention
Leaks are a common source of water damage and can lead to mold growth or structural issues. To prevent leaks, all threaded connections should be sealed with plumber’s tape or pipe dope, and compression fittings should be tightened to manufacturer specifications. In addition to these methods, using high-quality gaskets and O-rings can further enhance the seal and prevent future leaks. Regular maintenance checks can also help identify potential weak points before they become problematic.
During installation, it’s essential to test all connections by pressurizing the system and checking for drips or moisture. Any detected leaks must be addressed immediately before completing the installation. Implementing a routine inspection schedule after installation can help catch any issues early on. Additionally, consider using leak detection technology, such as smart water sensors, which can alert homeowners to leaks in real-time, providing an extra layer of security against water damage.
Installing Pressure Relief and Drainage Systems
Pressure relief valves (PRVs) are safety devices designed to release water if the pressure inside the tank exceeds safe limits. These valves must be installed according to manufacturer instructions and local codes, typically near the top of the tank with a discharge pipe directed to a safe drainage location. It’s crucial to ensure that the discharge pipe is not obstructed and is properly sloped to facilitate drainage, as this will prevent water from pooling and causing further issues.
Additionally, installing a drain pan beneath the water heater can help contain leaks and prevent water damage to floors. The drain pan should be connected to a floor drain or directed outside to manage any accidental water release safely. Consider the installation of a condensate pump if the drain pan is located below the level of the main drainage system, ensuring that any collected water can be effectively removed. Regularly checking the drain pan for debris and ensuring that the drainage path is clear will help maintain the efficiency of this preventive measure.
Ensuring Safe Electrical Connections
Understanding Electrical Requirements
Electrical water heaters require careful attention to voltage, amperage, and wiring type. Most residential electric water heaters operate on 240 volts and require dedicated circuits with appropriately sized breakers. Undersized wiring or breakers can cause overheating and fire hazards.
Consulting the manufacturer’s specifications and local electrical codes is essential to determine the correct wire gauge and breaker size. Typically, 10-gauge wire is used for 30-amp circuits, but this can vary depending on the heater’s power rating.
Proper Grounding and Circuit Protection
Grounding is a critical safety measure that protects users from electrical shock. The water heater’s metal body must be connected to the building’s grounding system using a grounding wire. This ensures that any fault current is safely directed away from the user.
Installing a circuit breaker with ground fault protection, such as a GFCI or an arc fault circuit interrupter (AFCI), adds an extra layer of safety. These devices detect abnormal electrical conditions and shut off power before injury or damage occurs.
Safe Wiring Practices and Connections
All electrical connections should be made within an approved junction box or the heater’s terminal enclosure. Wires must be stripped to the correct length, and connections should be tight and secure to prevent arcing or overheating.
Using wire nuts or terminal screws as recommended by the manufacturer ensures a reliable connection. After wiring, the system should be tested with a multimeter to verify proper voltage and continuity before powering the heater.
Common Installation Mistakes and How to Avoid Them
Ignoring Local Codes and Manufacturer Instructions
One of the most frequent errors in water heater installation is neglecting local building and electrical codes. These codes are designed to ensure safety and performance, and failure to comply can result in fines, voided warranties, or dangerous installations.
Always review the manufacturer’s installation manual and consult local regulations before starting work. When in doubt, hiring a licensed professional can prevent costly mistakes and ensure compliance.
Improper Sizing of Pipes and Wiring
Using pipes or wires that are too small for the water heater’s requirements can cause system inefficiencies and hazards. For example, undersized pipes may restrict water flow, while undersized wiring can overheat and cause electrical fires.
Calculating the correct sizes based on the heater’s specifications and the expected load is essential. This includes considering the length of runs and any voltage drop in electrical wiring.
Neglecting Safety Devices and Testing
Skipping the installation of pressure relief valves, grounding, or circuit protection devices can lead to dangerous failures. Additionally, failing to test the system thoroughly after installation increases the risk of unnoticed leaks or electrical faults.
Always install all required safety components and conduct pressure and electrical tests before putting the heater into service. This proactive approach helps catch issues early and ensures a safe, reliable system.
Maintenance Tips to Keep Water and Electrical Connections Safe
Regular Inspection of Connections
Periodic inspections can identify early signs of wear, corrosion, or damage in water and electrical connections. Look for moisture around fittings, discoloration on wires, or signs of overheating such as melted insulation.
Addressing minor issues promptly can prevent major failures and extend the life of the water heater system.
Flushing and Testing the System
Flushing the water heater annually removes sediment buildup that can affect performance and cause corrosion. Testing the pressure relief valve ensures it operates correctly and prevents dangerous pressure buildup.
Electrical components should also be checked for tight connections and proper operation of safety devices like GFCIs.
Professional Servicing and Upgrades
Engaging a licensed plumber or electrician for regular servicing can help maintain safety and efficiency. Professionals can also recommend upgrades, such as replacing old wiring or installing advanced safety devices, to keep the system up to date with current standards.
Conclusion
Ensuring safe water and electrical connections in water heater installations is a multifaceted task that demands attention to detail, adherence to codes, and use of quality materials. By understanding the specific requirements of different heater types, choosing appropriate components, and following best practices, installers can create systems that are safe, efficient, and durable.
Regular maintenance and inspections further safeguard the installation, protecting both property and occupants from potential hazards. Whether undertaking a DIY project or hiring professionals, prioritizing safety in every step of the water heater installation process is essential for peace of mind and long-term performance.